Friday, 28 February 2014
Rosemary Hardy - Challenge 12
Rosemary Hardy
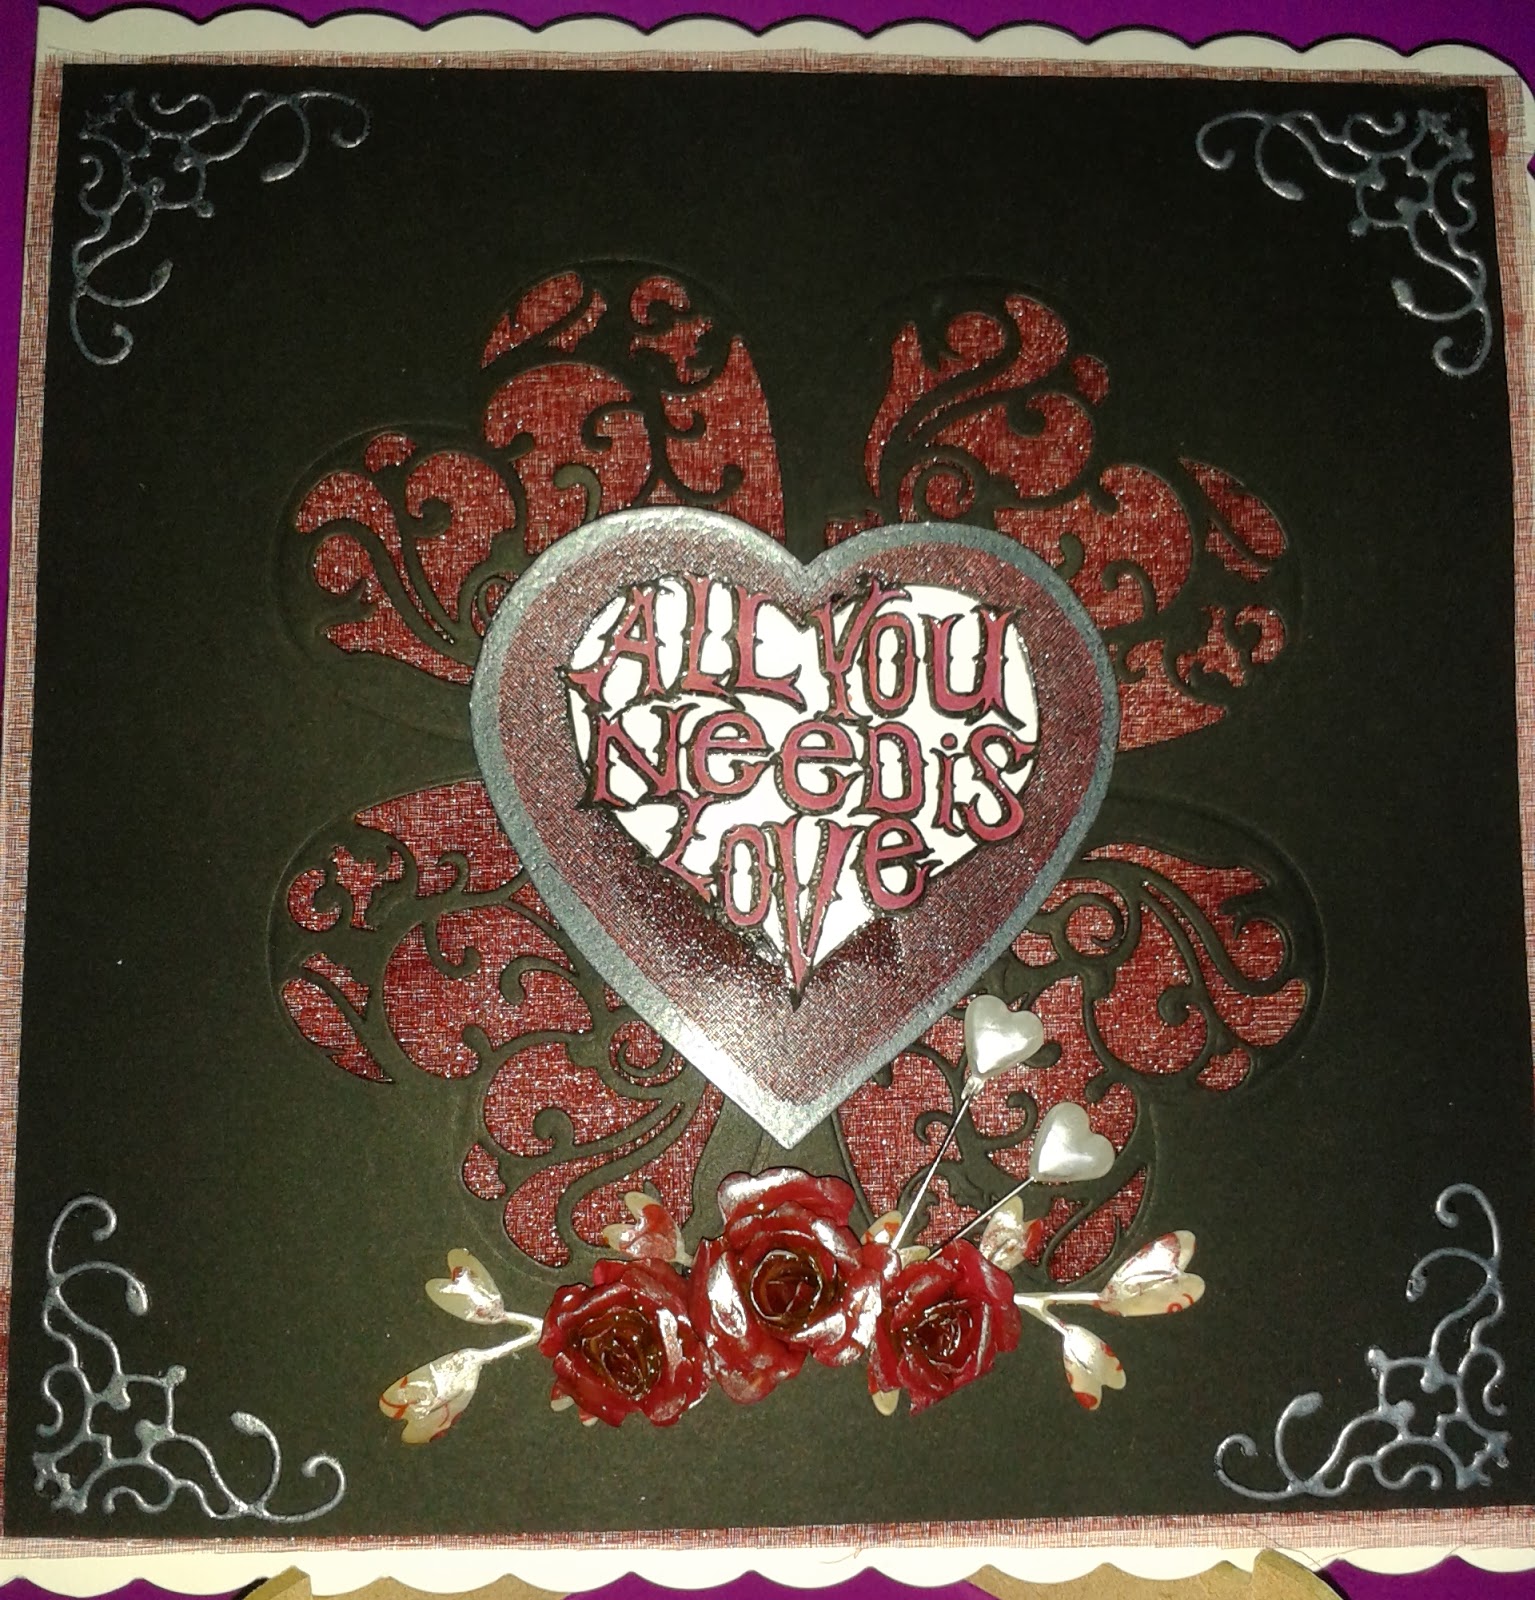
I used red foil as a base and cut the grey heart layer on the Silhouette. The topper was made using the hearts and leaf stencil embossed with the Grand Calibur. Using Clarity brushes I highlighted the embossed areas on the the card and then stamped into the hearts with the "All You Need is Love" stamp and coloured them with promakers. To finish I outlined the artwork with a promarker.
Shelagh Metselaar - Challenge 12
Shelagh Metselaar
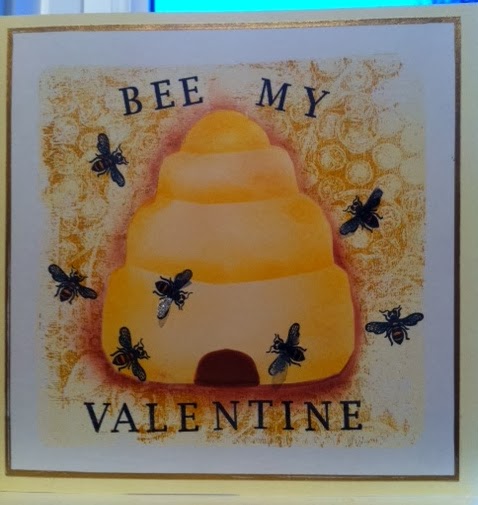
Love You 24/7
* Clarity Stamps: Kissing Couple, Large Leafy Swirl, Letterbox Sentiments
* Clarity Stencils: Curly Strip
* Inkpads – Staz-On Black, Versamark, Versafine Onyx Black, Distress Inks - Black Soot
* Clear Detail Embossing Powder
* Watercolour Paint (in tubes):- Light Yellow, Yellow Ochre, Brilliant Red, Phthalo Blue.
* Artists’ Board
* Acetate
* Gunmetal glitter gel medium
* Cardstock: Gold mirri, black, white
Instructions
1. Ink ‘Kissing Couples’ stamp with Staz-on black and stamp and stamp in the centre of the Artists’ Board.
2. Repeat above and below the central image.
3. Allow to dry.
4. Now for the fun!
a) Squeeze three pea-size spots each of Light Yellow and Yellow Ochre on and around the stamped image.
b) Using Yellow Ochre and Blue, repeat on second image.
c) Using Brilliant Red and Phthalo Blue, repeat on third image.
5. With a medium flat paint brush, gently spread the paint over the entire board. Do this without ‘muddying’ the colours too much.
6. Allow to dry for a few hours.
7. Pool a spot of water over the top image. With kitchen roll, blot the watercolour paint to reveal the stamped image. Repeat over the other images. This can be continued over the whole board if you wish. (This is the magical part for me. There is no indication of the colour mixes until this point!)
Warning – this is messy and lots of absorbent kitchen roll is required. Try not to rub or dab as this will lead to a muddy blend.
8. Allow to dry again.
9. Stamp with Versamark and large Leafy swirl top right and bottom left and heat emboss with Clear detail embossing powder.
10. With Versafine Black Onyx and large leafy swirl stamp each side of board to suit and emboss as above.
11. Ink around the edges with Black Soot to distress.
12. Stamp the required Letterbox sentiments using Black Onyx and heat emboss. Cut and re-arrange to make the required sentiment.
13. Glue onto image to suit.
14. Taking the Curly Strip rectangular stencil, attach to edge of acetate using low-tack masking tape.
Apply Gunmetal glitter gel medium with a spatula or similar to on. (I used a cake icing smoothing tool.) Remove stencil carefully and allow gel medium to dry.
15. Repeat (14) placing the stencil next to the dry pattern but turned by 180 degrees so the pattern is flowing in the opposite direction. Allow to dry.
16. Trim to give a generous border around the stamped image. Mount acetate onto gold card and further mount onto white and black mats.
17. Using foam pads, add the stamped board to the centre of the mounted acetate to give the illusion of a frame.
Thursday, 27 February 2014
Monday, 24 February 2014
Thursday, 20 February 2014
Dawn Rogers - Challenge 12
Dawn Rogers
I applied three colours of Adirondack ink to the gelli plate with a brayer, stamped the heart onto scrap paper, cut out and placed it onto the gelli plate face down, then stamped the lupin, floral swirl, swallows and some of those tiny dots and dashes randomly onto the gelli plate in various colours of Versafine.
With the mask still in place, I put the card onto the gelli plate to lift up the ink, which left a white space in which to stamp the heart. Finally I coloured in the heart using a water brush and some Adirondack red pepper ink, stamped the sentiment alongside and attached a little die cut heart in the corner. The images don't always transfer perfectly from stamp to gelli plate to card - you can see that my swallows have gaps in them, but I decided that they looked a bit like their hearts!
You also have to remember that the final card will be a mirror image of what you put on the gelli plate. I had intended to place my sentiment to the right of the heart, but I forgot about the reversing effect of the gelli plate and put my mask down on the left hand side!
Lesley Walden - Challenge 12
Lesley Walden
Heart Swivel Card
Fold the front of the card back onto itself, open out and using a template draw a heart on the left hand side centring on the fold line. Cut out the left half of the heart.
On black card card, and using the same heart template, cut two hearts and a slightly smaller one in white card.
For the front heart, stamp the 'love birds' onto white card, colour in and extend the branch, glaze with clear embossing powder and stick onto a black heart shape. Stamp the 'mistletoe' with versamark and heat emboss with detailed white powder, Add a few punched white stars and stick the left hand side onto the front of the card. The right hand side should fit the cut out gap.
Open the card and lining the other black heart up with the half of the hart that shows through, stick it down (not difficult but hard to explain!) and decorate with white punched hearts.
Stamps 'all you need is love' onto the white heart, colour in and then stick onto the inside of the card so that it lies behind the front heart when the card is closed.
Finish off with some gold pen borders and some stick on glittery hearts.
Tuesday, 18 February 2014
Monday, 17 February 2014
Sunday, 16 February 2014
Friday, 14 February 2014
Wednesday, 12 February 2014
Sunday, 9 February 2014
Saturday, 8 February 2014
Thursday, 6 February 2014
Subscribe to:
Posts (Atom)


